Buttermilk biscuits, with their tender, flaky layers and buttery flavor, are a beloved staple in many households, particularly in the Southern United States. Their origins trace back to early American cooking, where biscuits were a quick bread option that didn’t require yeast, making them convenient for busy families. Initially, these biscuits were hard and dense, known as “beaten biscuits,” which required considerable labor to prepare. However, the introduction of chemical leavening agents like baking powder and baking soda in the 19th century transformed biscuits into the soft, fluffy versions we cherish today. Buttermilk, a byproduct of butter churning, was traditionally used to add a tangy richness, enhancing the biscuit’s flavor and texture.
In contemporary cuisine, buttermilk biscuits have become a versatile component of the modern breakfast. They seamlessly blend with both sweet and savory elements, making them a perfect companion to a variety of dishes. Whether served with a dollop of jam, a drizzle of honey, or as a base for hearty breakfast sandwiches with eggs, bacon, and cheese, these biscuits offer a comforting and satisfying start to the day. Their flaky, tender layers are the result of a delicate balance of ingredients and techniques, celebrating a culinary tradition that continues to evolve while maintaining its classic appeal.
To make the ultimate flaky buttermilk biscuits we whisk flour, sugar, baking powder, baking soda, and salt together in large bowl. Next we coat partially frozen sticks of butter in the flour mixture, then grate 7 tablespoons from each stick with a box grater directly into flour mixture. Toss gently to combine. Set aside remaining 2 tablespoons butter (we will melt this to brush over biscuits before baking).
Next, add the buttermilk to the flour / butter mixture and fold with a spatula until just combined. The dough will still look dry, but that’s okay! Transfer the dough to a liberally floured counter. Dust surface of dough with flour. Using your hands, press dough into a rough 7-inch square. It’s still going to be quite rough at this stage, but I promise you, it will take shape as we work it.
Roll the dough into an approximate 12 x 9 inch rectangle with short side parallel to the edge of the counter (i.e. directly in front of you). Starting at the bottom of the dough (closest to you), fold into thirds like a letter, using a bench scraper or metal spatula to release dough from counter. Press top of dough firmly to seal folds. Turn dough 90 degrees. Repeat the rolling / folding / turning process 4 more times, for a total of 5 sets of folds. After last set of folds, roll the dough into an approximate 8 1/2 inch square, about 1 inch thick, for the final shape before cutting.
Transfer the dough to a baking sheet lined with parchment paper, cover with plastic wrap, and refrigerate for 30 minutes. Adjust your oven rack to upper-middle position and preheat oven to 400 °F. If you are going to use a baking stone, make sure it is in place before preheating oven.
After the dough has chilled, transfer to a lightly floured cutting board. Using a sharp knife, trim around the edges a little to square things up. You can discard the trimmings or mash them in a little piece for a “sample” after baking. Now, cut the dough into thirds vertically, then horizontally, so you will end up with 9 even pieces.
Arrange biscuits at least 1 inch apart on sheet from before. Melt the butter we reserved back when grating. Brush tops of biscuits with melted butter. Bake until tops are golden brown, about 22 to 25 minutes, rotating sheet halfway through baking. Transfer biscuits to wire rack and let cool for 15 minutes before serving.
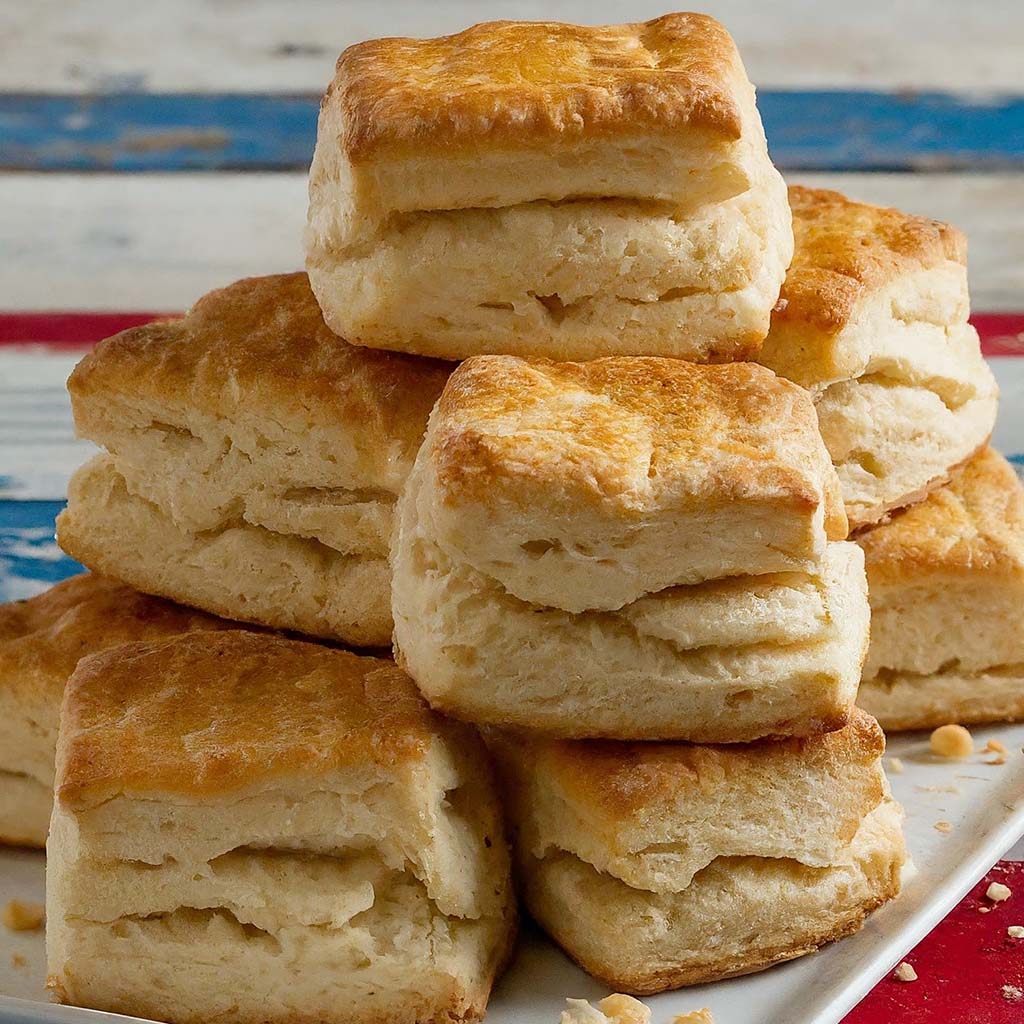
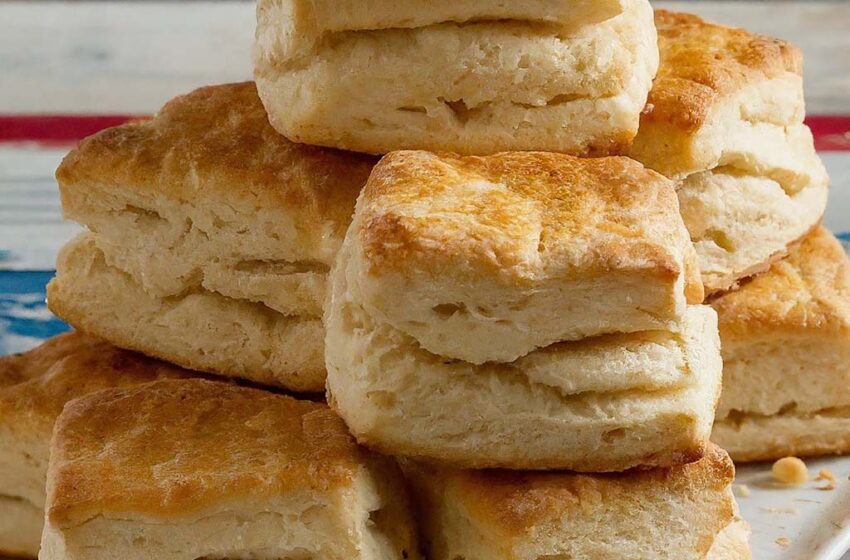
Ultimate Flaky Buttermilk Biscuits
Equipment
- Measuring cups and spoons
- Mixing bowl
- Grater
- Rolling pin
- Chef knife
- Cutting board
- Baking sheet
Ingredients
- 3 cups all-purpose flour
- 2 tbsp sugar
- 4 tsp baking powder
- ½ tsp baking soda
- 1 ½ tsp salt
- 2 sticks unsalted butter (Frozen for 30 minutes)
- 1 ¼ cups buttermilk (Can substitute regular milk)
Instructions
- Whisk flour, sugar, baking powder, baking soda, and salt together in large bowl. Coat partially frozen sticks of butter in flour mixture, then grate 7 tablespoons from each stick with a box grater directly into flour mixture. Toss gently to combine. Set aside remaining 2 tablespoons butter (we will melt this to brush over biscuits before baking).
- Add buttermilk to flour / butter mixture and fold with spatula until just combined. The dough will still look dry, but that’s okay! Transfer the dough to a liberally floured counter. Dust surface of dough with flour. Using your hands, press dough into a rough 7-inch square.
- Roll dough into an approximate 12 x 9 inch rectangle with short side parallel to edge of counter (i.e. directly in front of you). Starting at bottom of dough (closest to you), fold into thirds like a letter, using bench scraper or metal spatula to release dough from counter. Press top of dough firmly to seal folds. Turn dough 90 degrees. Repeat the rolling / folding / turning process 4 more times, for total of 5 sets of folds. After last set of folds, roll dough into an approximate 8 1/2 inch square, about 1 inch thick, for the final shape before cutting.
- Transfer dough to a baking sheet lined with parchment paper, cover with plastic wrap, and refrigerate for 30 minutes. Adjust oven rack to upper-middle position and preheat oven to 400 °F. If you are going to use a baking stone, make sure it is in place before preheating oven.
- After dough has chilled, transfer to a lightly floured cutting board. Using sharp knife, trim around the edges a little to square things up. You can discard the trimmings or mash them in a little piece for a “sample” after baking. Now, cut the dough into thirds vertically, then horizontally, so you will end up with 9 even pieces.
- Arrange biscuits at least 1 inch apart on sheet from before. Melt the butter we reserved back when grating. Brush tops of biscuits with melted butter. Bake until tops are golden brown, 22 to 25 minutes, rotating sheet halfway through baking. Transfer biscuits to wire rack and let cool for 15 minutes before serving.