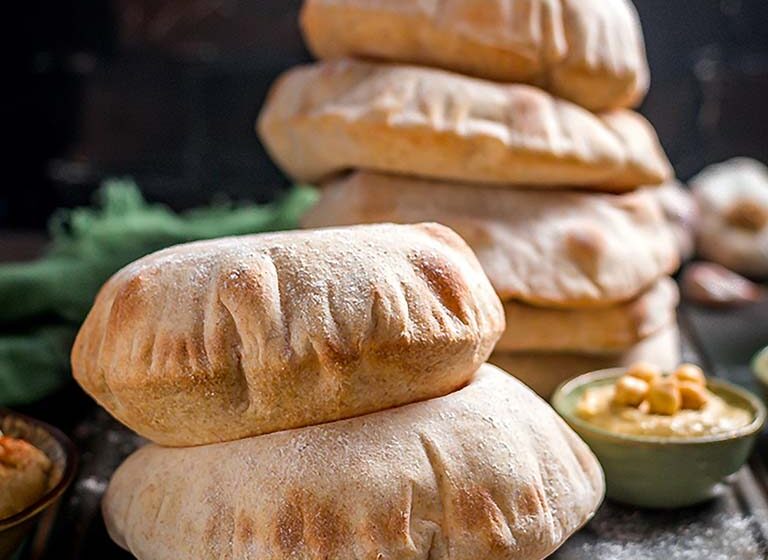
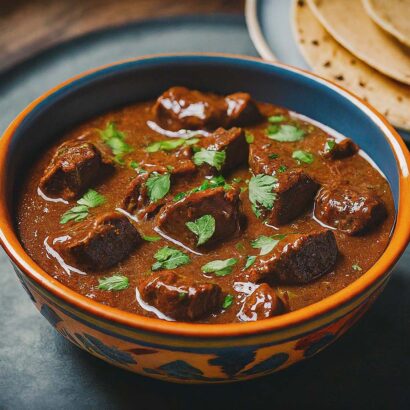
Pita bread is a type of flatbread that has deep historical roots in Middle Eastern cuisine, dating back thousands of years. Its origins can be traced to ancient Mesopotamia and Egypt, where early forms of bread were cooked on hot stones or hearths. Over time, the practice of making flatbreads spread across the Middle East and the Mediterranean, evolving into the pita bread known today. This bread became a staple due to its simple ingredients and ease of preparation, making it a versatile and reliable food source for many cultures in the region. The name “pita” itself is derived from the Greek word for “flat” or “solid.”
Pita bread is incredibly versatile and can be paired with a wide variety of foods. Its most famous feature is the pocket that forms when the dough puffs up during baking, making it perfect for sandwiches and wraps. Classic uses include stuffing it with falafel, gyros, shawarma, or kebabs, often accompanied by fresh vegetables, tzatziki, or tahini. Pita also pairs wonderfully with a range of dips and spreads, such as hummus, baba ganoush, and labneh. Additionally, it can be cut into wedges and baked or toasted to make crispy pita chips, which are ideal for dipping. Whether used as a utensil for scooping up food or as a vessel for hearty fillings, pita bread remains a fundamental component of Middle Eastern cuisine and has gained popularity worldwide for its adaptability and delicious taste.
To make pita bread you will need to mix flour and yeast together in a mixer bowl. Then add in the water, oil, and honey. Using a dough hook attachment on your mixer, mix on low speed until all flour is moistened, about 1 to 2 minutes. Let dough rest for 10 minutes.
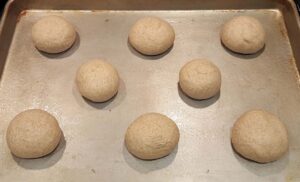
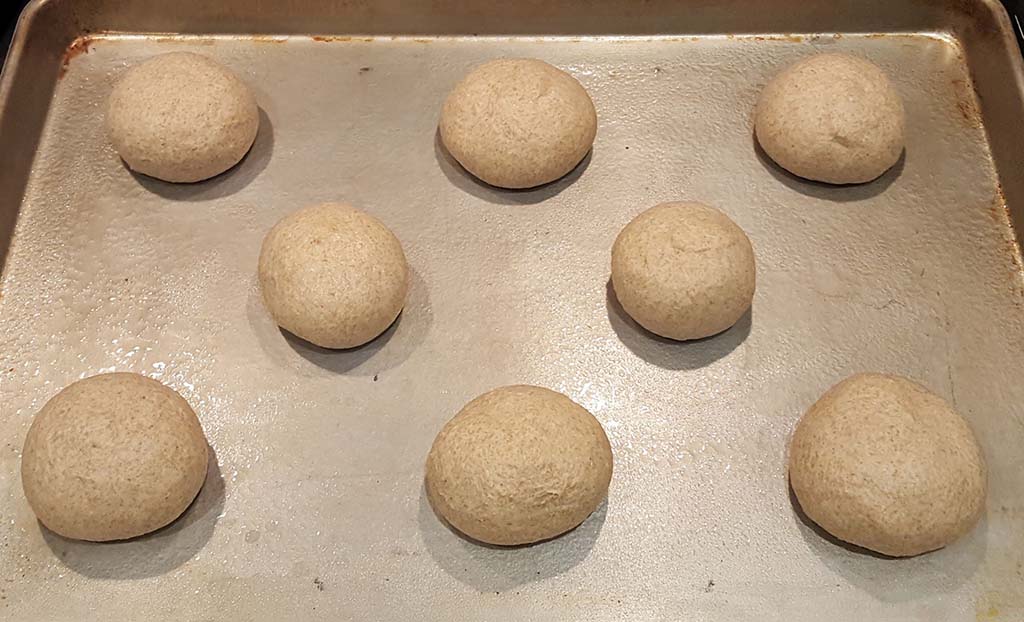
After it has rested, add salt to the dough and mix on medium speed until dough has been worked thoroughly, approximately 6 to 8 minutes. Transfer the dough to a lightly oiled counter (I like to use a large cutting board) and knead until smooth, about 1 minute. Divide dough into 8 equal pieces. Shape the dough pieces into tight, smooth balls and transfer, seam side down, to a rimmed baking sheet coated with oil spray. Spray the tops of the balls lightly with oil spray, then cover tightly with plastic wrap and refrigerate for at least 16 hours or up to 24 hours.
One hour before baking the pitas, adjust oven rack to lowest position, set a baking stone on the rack, and heat oven to 425 °F. If you don’t have a baking stone, you can use a regular rimmed baking sheet.
Remove dough from the refrigerator. Coat a dough ball on both sides with flour, and place on a well-floured counter, seam side down. Using the heel of your hand, press the dough ball into about a 4 to 5 inch circle. Next, using a rolling pin, gently roll into a 7-inch circle, adding flour as necessary to prevent sticking. Roll slowly and gently to prevent any creasing. Brush off both sides of round with a pastry brush to remove any excess flour. Depending on the size of your baking stone, you can usually cook two pitas at a time.
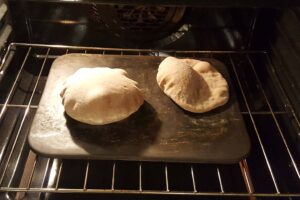
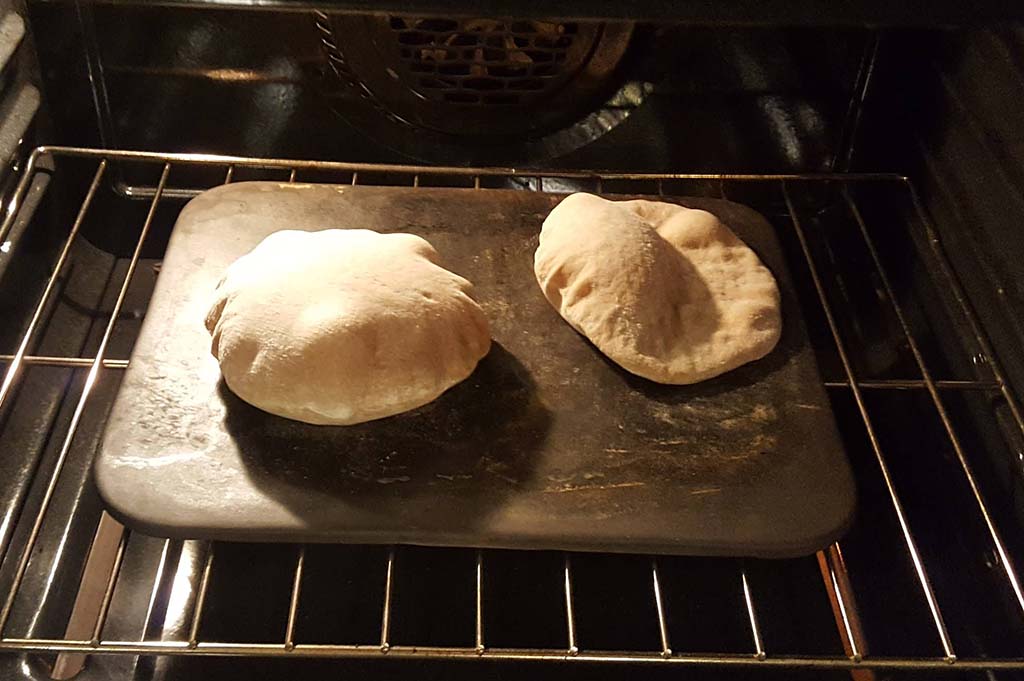
Slide dough round carefully onto stone, making sure the side that was facing up when you began rolling is still face up, and bake until inflated and lightly browned on undersides, 1 to 3 minutes. Using a spatula, gently invert pita. If pitas do not puff after 3 minutes, flip immediately to prevent overcooking. Bake until lightly browned in center of second side, about 1 minute. Transfer pita to a wire rack to cool, covering loosely with clean towel.
Let pitas cool for at least 10 minutes before serving.
Pita Bread
Equipment
- Stand mixer (Can use hand mixer if you have dough attachments)
- Baking sheet
- Baking stone (Optional)
- Measuring cups and spoons
Ingredients
- 2 ⅔ cups all-purpose flour (Can also use bread or whole wheat flour)
- 2 ¼ tsp instant or rapid-rise yeast (This is the same qty as one packet)
- 1 ⅓ cups cold water
- ¼ cup extra-virgin olive oil
- 4 tsp honey
- 1 ¼ tsp salt
Instructions
- Mix flour and yeast together in a mixer bowl. Then add in the water, oil, and honey. Using a dough hook attachment on your mixer, mix on low speed until all flour is moistened, 1 to 2 minutes. Let dough rest for 10 minutes.
- Add salt to dough and mix on medium speed until dough has been worked thoroughly, about 6 to 8 minutes. Transfer dough to lightly oiled counter and knead until smooth, about 1 minute. Divide dough into 8 equal pieces. Shape the dough pieces into tight, smooth balls and transfer, seam side down, to rimmed baking sheet coated with oil spray. Spray tops of balls lightly with oil spray, then cover tightly with plastic wrap and refrigerate for at least 16 hours or up to 24 hours.
- One hour before baking pitas, adjust oven rack to lowest position, set baking stone on rack, and heat oven to 425 °F. If you don't have a baking stone, you can use a regular rimmed baking sheet.
- Remove dough from refrigerator. Coat one dough ball on both sides with flour and place on well-floured counter, seam side down. Use the heel of your hand to press dough ball into about a 4 to 5 inch circle. Using rolling pin, gently roll into 7-inch circle, adding flour as necessary to prevent sticking. Roll slowly and gently to prevent any creasing. Brush off both sides of round with pastry brush to remove any excess flour. Depending on the size of your baking stone, you can usually cook two pitas at a time.
- Slide dough round carefully onto stone, making sure side that was facing up when you began rolling is still face up, and bake until inflated and lightly browned on undersides, 1 to 3 minutes. Using a spatula, gently invert pita. If pitas do not puff after 3 minutes, flip immediately to prevent overcooking. Bake until lightly browned in center of second side, about 1 minute. Transfer pita to wire rack to cool, covering loosely with clean towel.

